
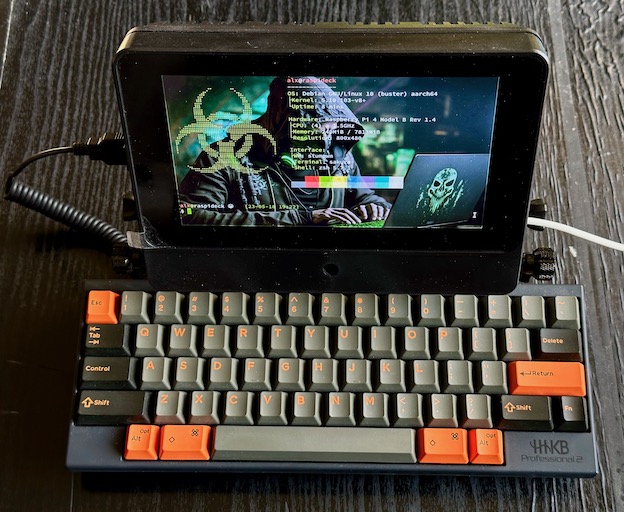
Minimalist Cyberdeck Pro
This project is kind of an upgrade of my Minimalist Cyberdeck, this time with the new SmartiPi Pro case.
This new case still uses the official Raspberry Pi screen, but offers more volume inside, so it will allow more electronics to be loaded in addition to the Raspberry Pi 4.
This is an ongoing project, much remains to be done. I have not yet decided how the keyboard will be assembled, nor everything that will be integrated. For the moment the power supply is external (via an adapter or a USB Powerbank).
As for the previous version, I added additional GoPro hinges to articulate the base (on which the keyboard will fit) and the case.
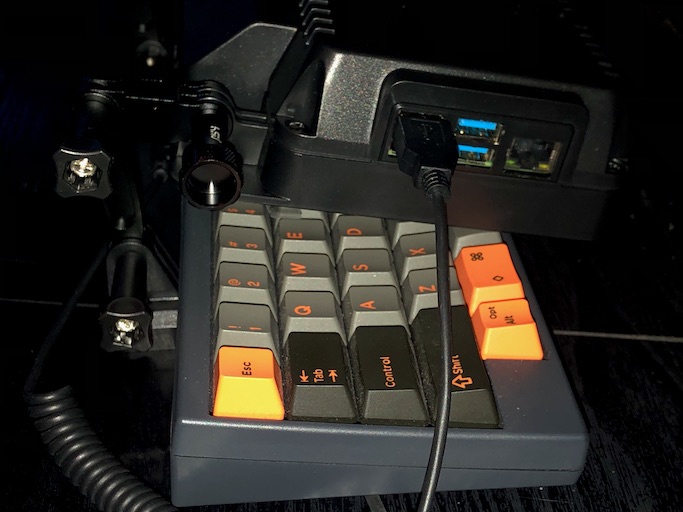
Side view :
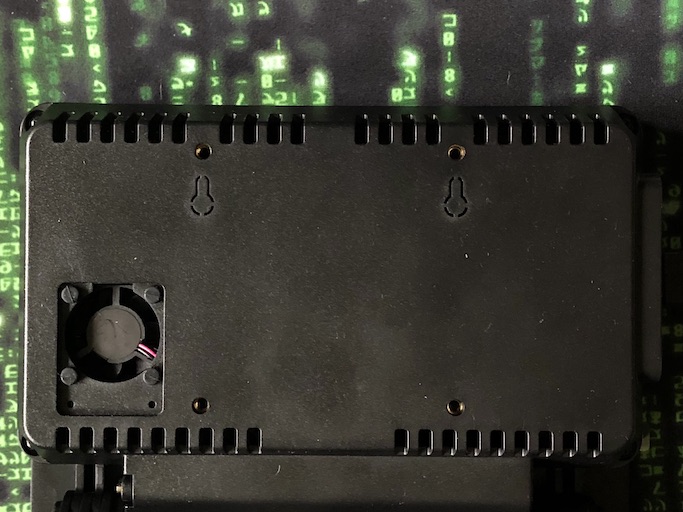
The back of the case is more flat and spacious, so I should have more space for the stickers 😉
Back view :
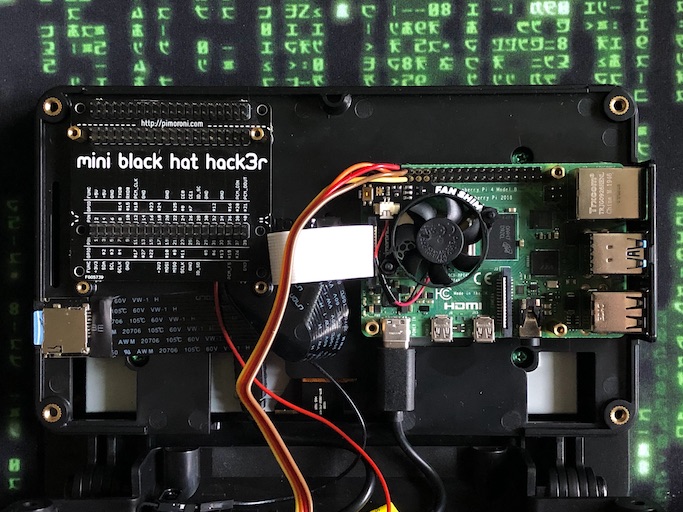
There is free space inside. So I start by adding a Mini Black Hat Hack3r which will help to have a better access to the GPIO of the Raspberry pi.
I also integrate a microSD extension, which will allow me to change the microSD card more easily without having to disassemble the case.
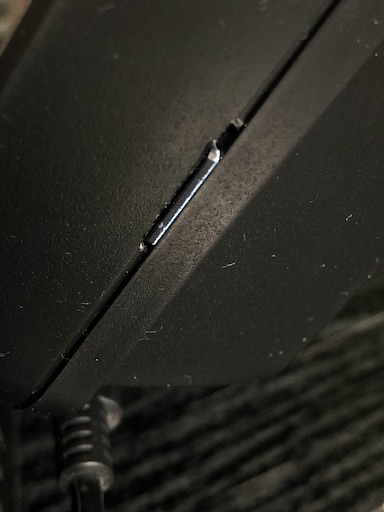
I made a slight notch in the case and glued the microSD connector using a simple double-sided adhesive.
A side view to see the small notch made in the case for the microSD slot :
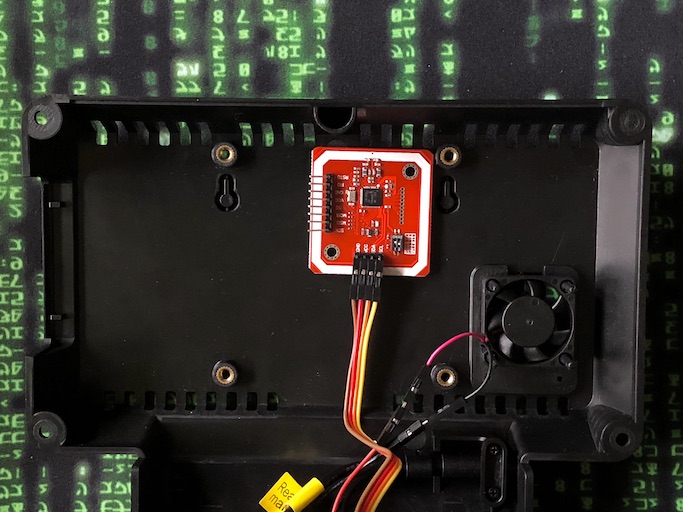
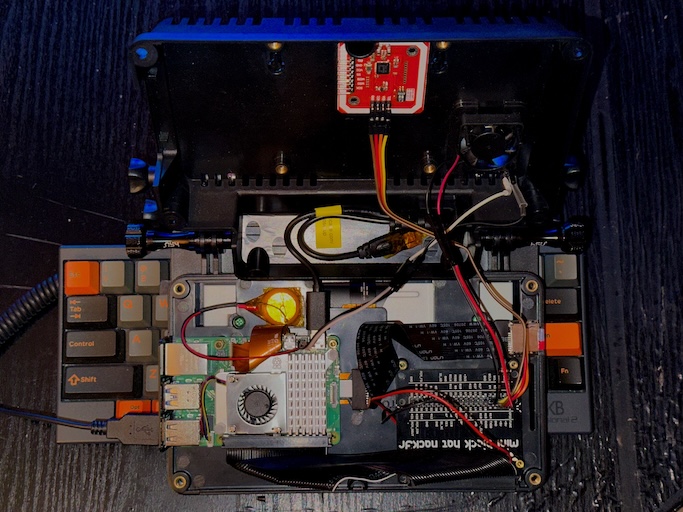
I also added an NFC controller breakout board inside the back cover, currently wired directly to the GPIO of the Raspberry Pi. There also everything hold with a simple double-sided adhesive.
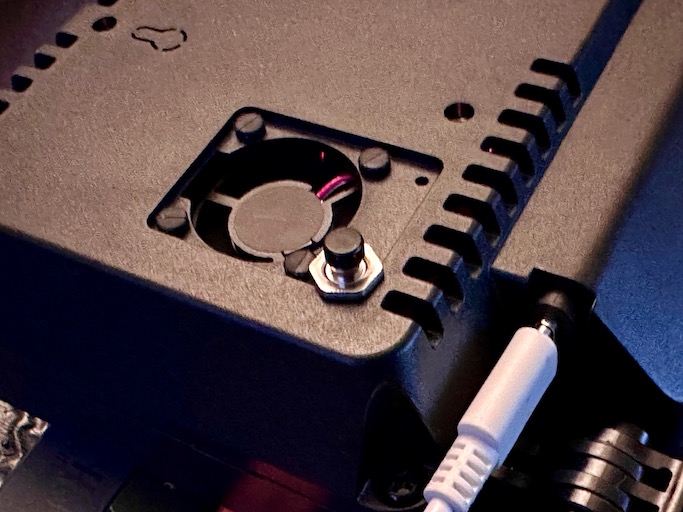
I was tired of unplugging/replugging my CyberDeck's power cable every time I changed microSD in order to restart and test different OS. So I enlarged one of the holes on the back of the case to add a push button 😎
Then I soldered a header at right angles to the 3 GLOBAL_EN pins of my Raspberry Pi 4, in order to be able to easily connect the push button to it (without interfering with Pimoroni's Fan SHIM).
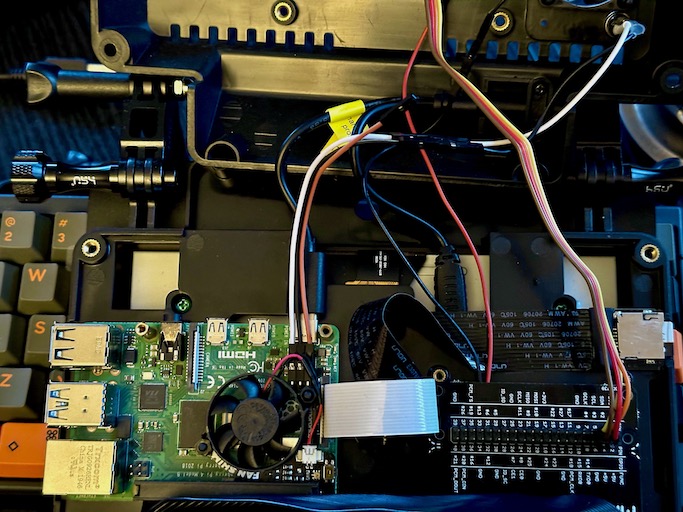
The Mini Black HAT Hack3r is now connected to the Raspberry Pi with a ribbon cable, and used to connect the NFC module and presumably more later.
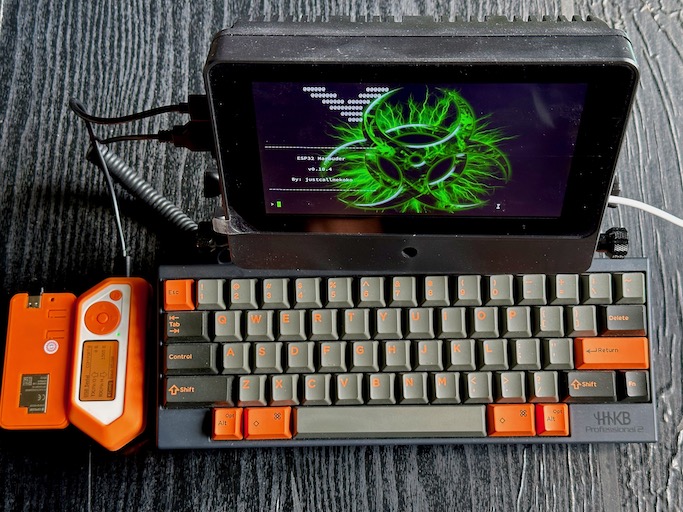
Aesthetically my HHKB Pro 2 with its set of orange keycaps match well with the colors of my Flipper Zero and its Dev board :
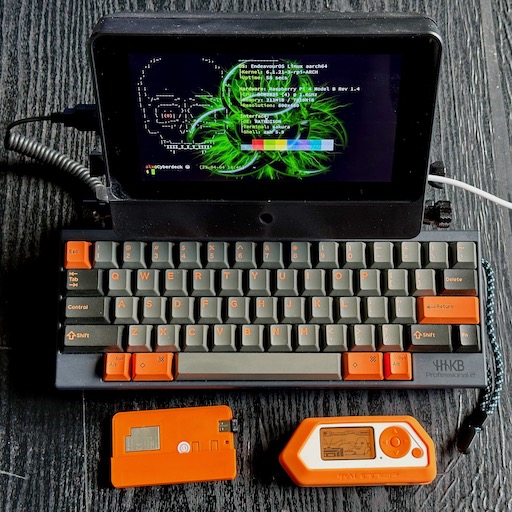
And everything works perfectly together (The Dev card has been flashed with marauder's firmware)
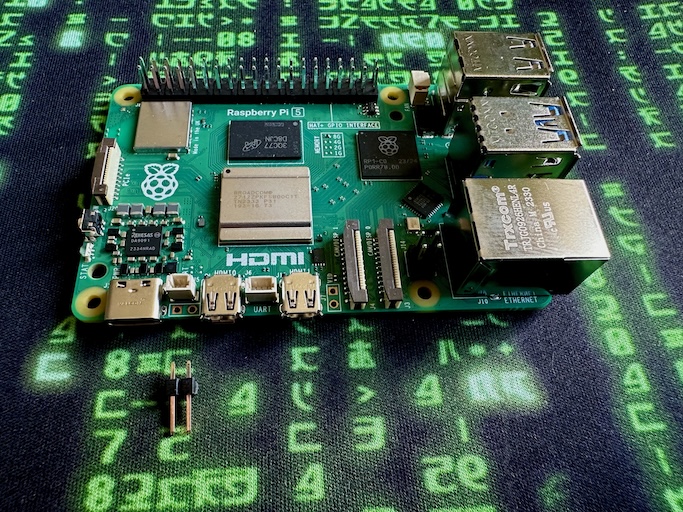
Update : upgrade from Raspberry Pi 4 to Raspberry Pi 5
My Raspberry Pi 5 arrived, so was time to upgrade my Cyberdeck.
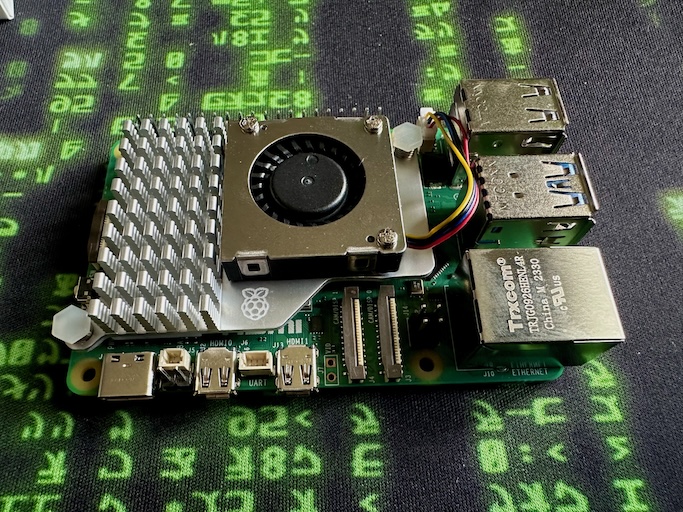
First I'm soldering the pins for the external power button :
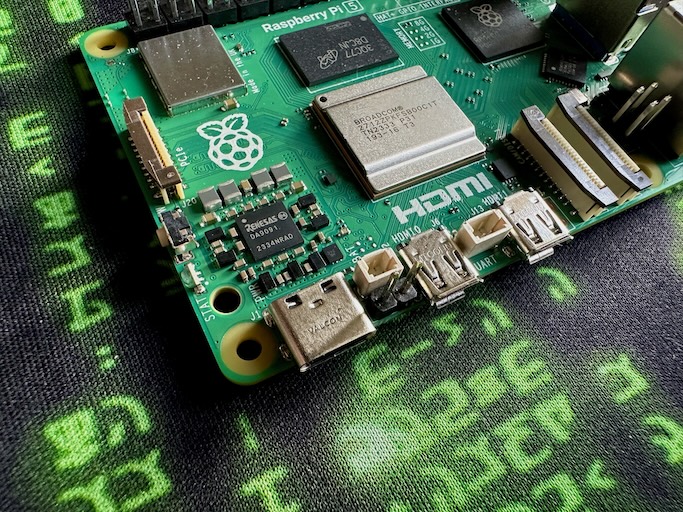
Then I'm adding the Active Cooler :
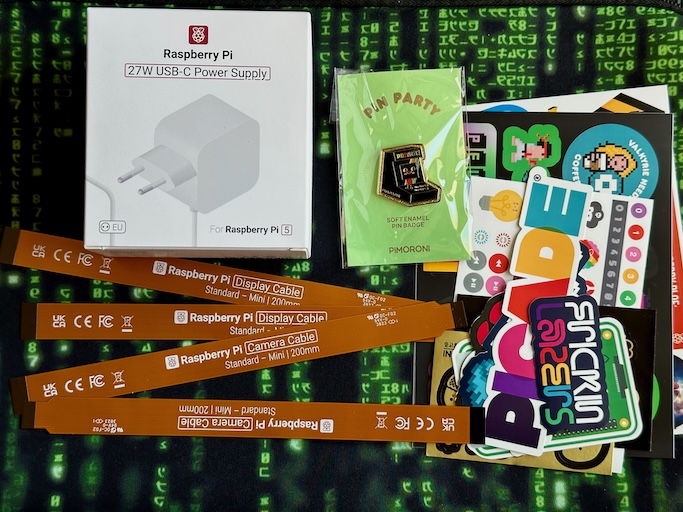
The Raspberry Pi 5 need new Display and Camera ribbons (different format than on previous Pi).
The new Power Supply is important too because it deliver 5A.
So I finally received the new ribbons (200mm) :
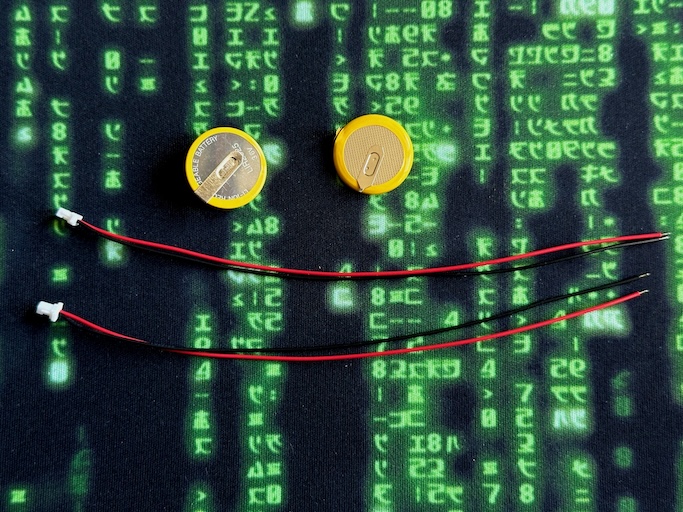
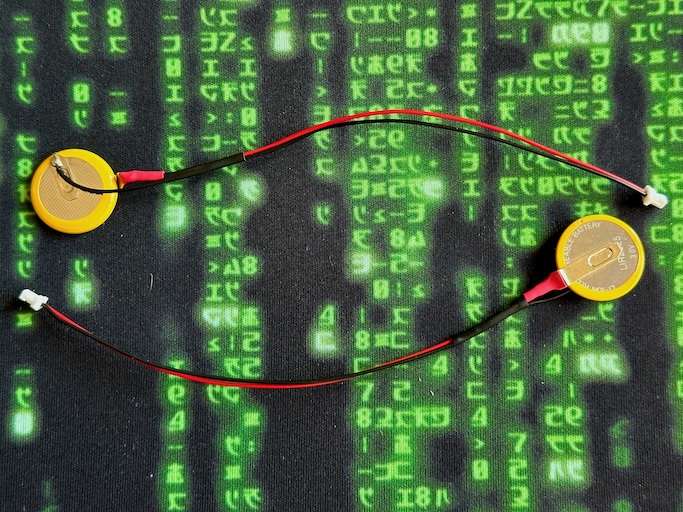
The Raspberry Pi 5 have also a new connector to add a RTC Battery.
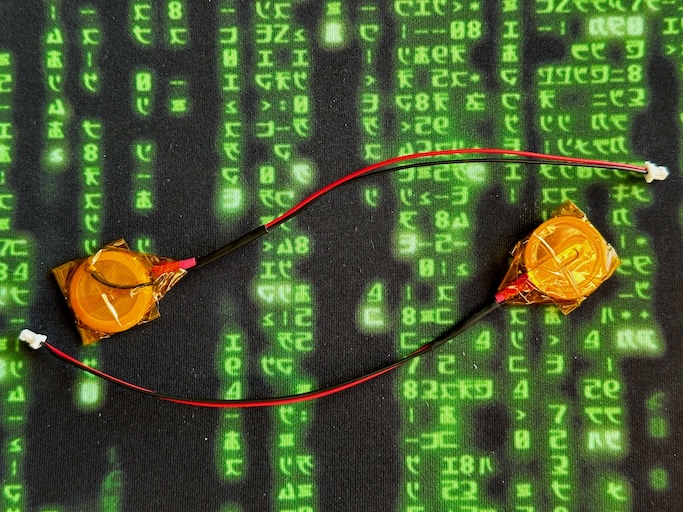
I didn't wanted to wait it's available, so I assembled my own batteries for my 2 Raspberry Pi 5:
- Panasonic VL2020 ML2020 Lithium-manganese rechargeable 45 mAh 3 V +.
- JST SH 1mm cable and connector.
- Some Heat Shrink Tubes and tape.
So now, let's replace the Display ribbon and replace the Pi 4 by the Pi 5 :
- Replaced the Display ribbon : the 200mm is long just enough.
- Connected the microSD extension to the Pi.
- Connected the external power button to the Pi.
- Connected the PI to the Mini Black Hat Hack3r.
- Connected the NFC Board and powering the 7" Official Display directly to the Mini Black Hat Hack3r.
And yes, it boot and all is working fine:
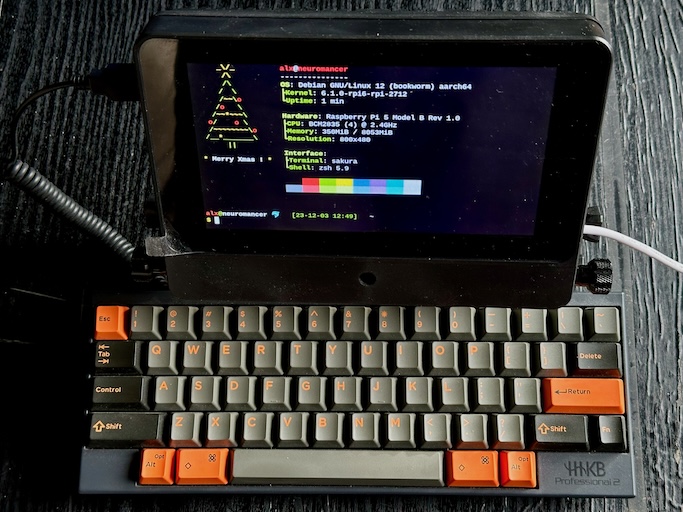
I installed to test the official Raspberry Pi OS based on Debian.
Then installed my favorite Window Manager : Stumpwm, tools and config files.
The NFC sensor still working fine.
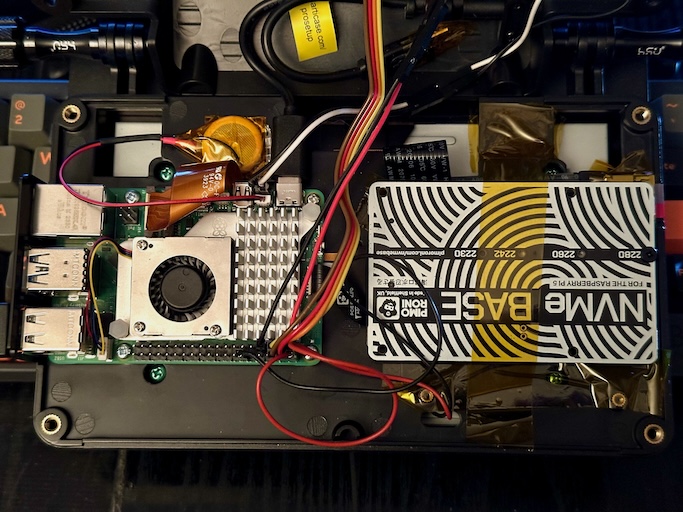
I received and installed the NVMe Base by Pimoroni with a 500GB drive.
All is working great, I just followed the configuration instructions but not for the physical assembling :
I made some space by removing the Mini Black Hat Hack3r, and installed the board aside of Raspberry Pi 5 to fit inside the SmartiPi Touch Pro Case.
Then I used rpi-imager from RaspberryPiOS booted from a microSD to install the OS on the NVMe.
To Do :
- Decide how to attach the keyboard (double-sided tape ? Velcro ? Make a special case housing the keyboard and some extras ?).
- Add a keyboard lighting system (similar to old IBM ThinkPads) with RGB color control for alerts
- Add more modules inside the box? (LoRa? RTC? )
- Add some stickers 😎